|
Jeez, I've got to get all these "messes" figured out someday!
Well, here's yet another project involving a bbq pit and trailer. As
you've probably read, Pvt. Mess was my trailered bbq pit that was stolen.
I had a lot of good cooks on that with friends, family and the historic military
vehicle club I belong to. When that was stolen, I got pretty bummed out
and didn't think about building another one until a club member recently mentioned they
couldn't wait until the Spring Burnet air-show, and asked what I'd be cooking.
When I heard that, I just had to spring into action and build another to keep
the guys happy.
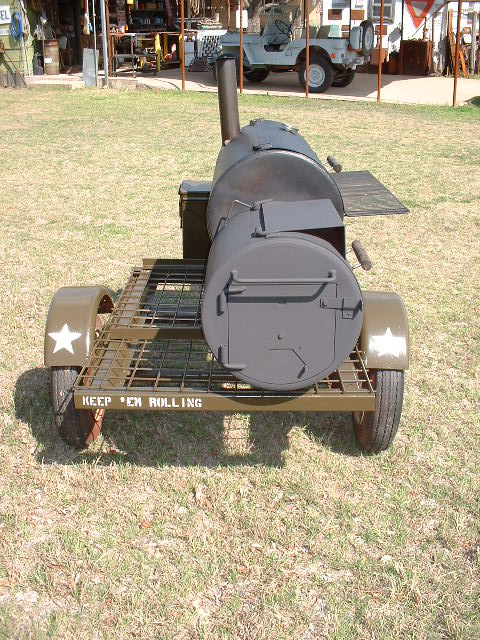
So I bring you Sgt. Mess, making me the "Mess Sergeant"!
02/07/2006 (Tuesday - 5.00hrs/5.00hrs total)
Today was the day I decided to just 'get her done'. My goal was to
fabricate everything so all I would have to do is wait for the next warm, sunny
day to sand, prime and paint.
 |
 |
 |
 |
 |
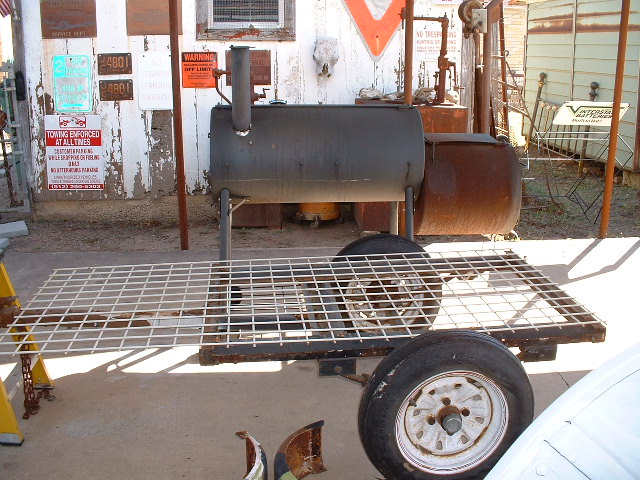
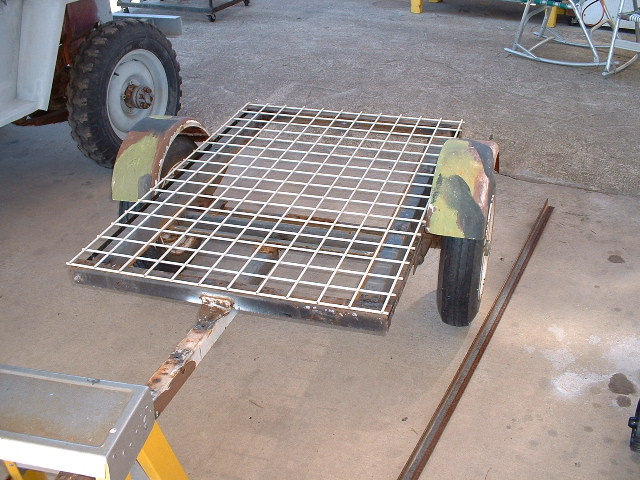
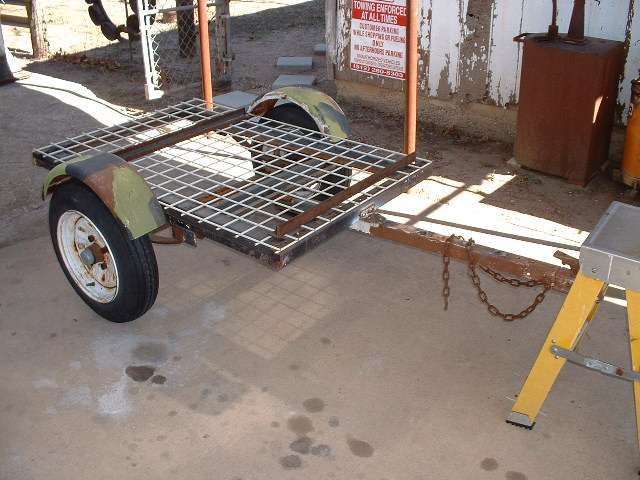
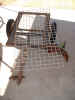
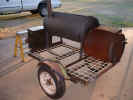
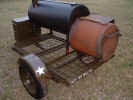
| Naked trailer
and base rack |
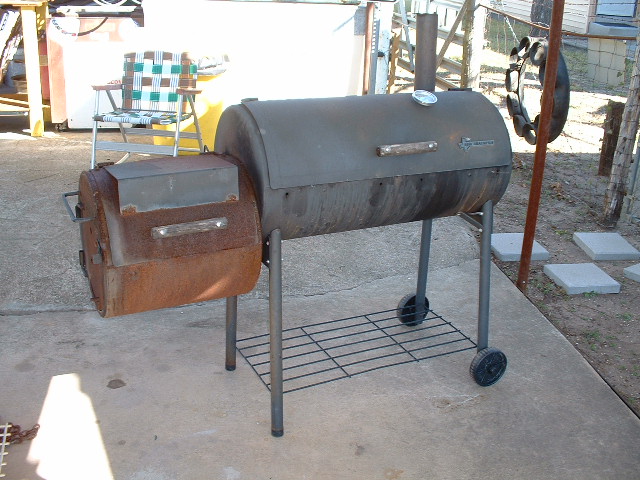
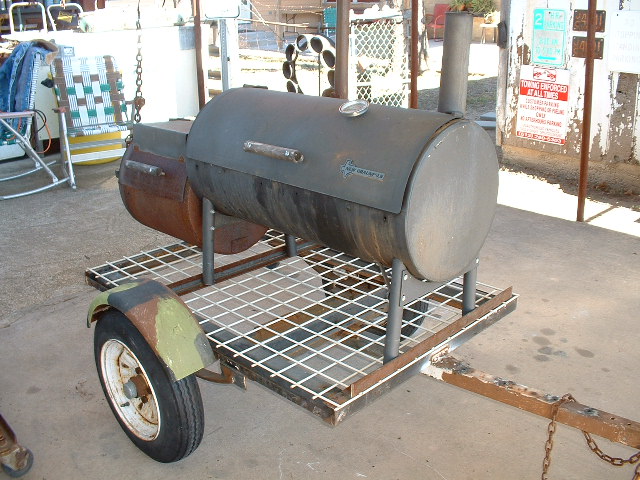
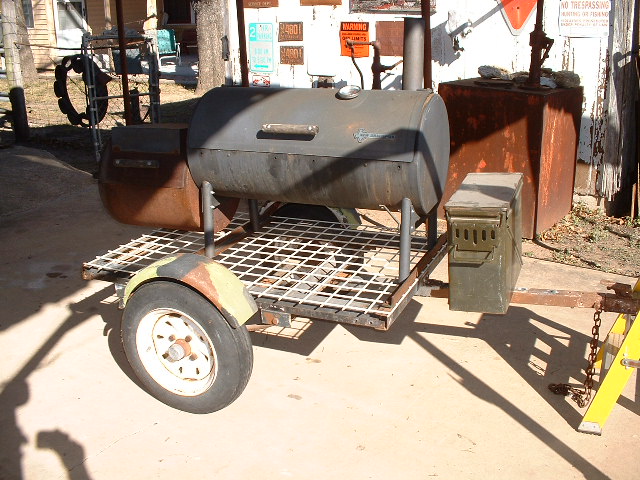
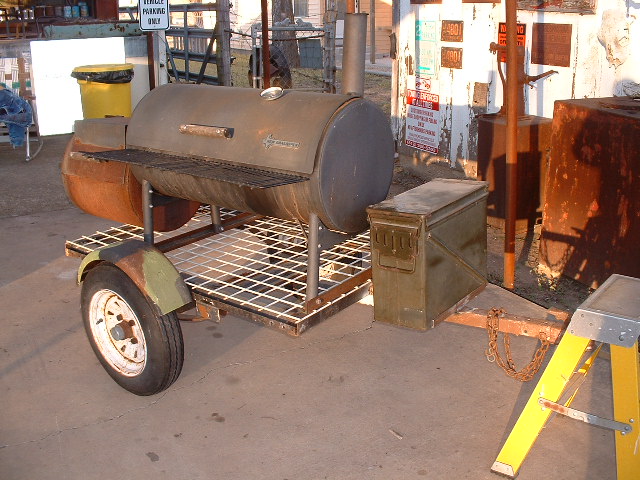
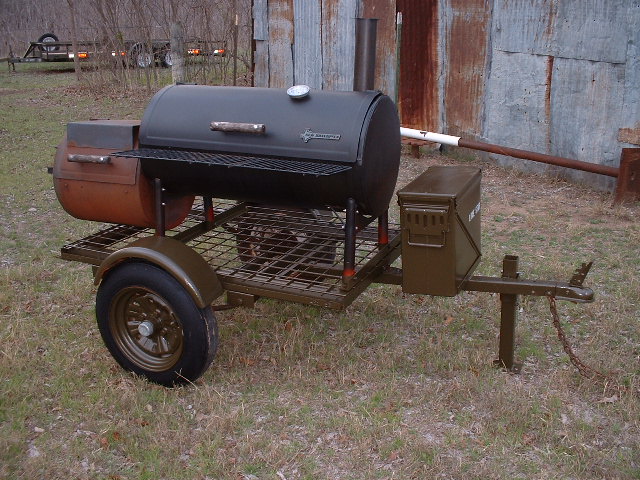
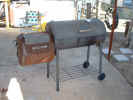
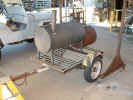
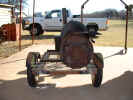
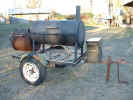
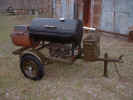
The $50 used
pit with all the racks! |
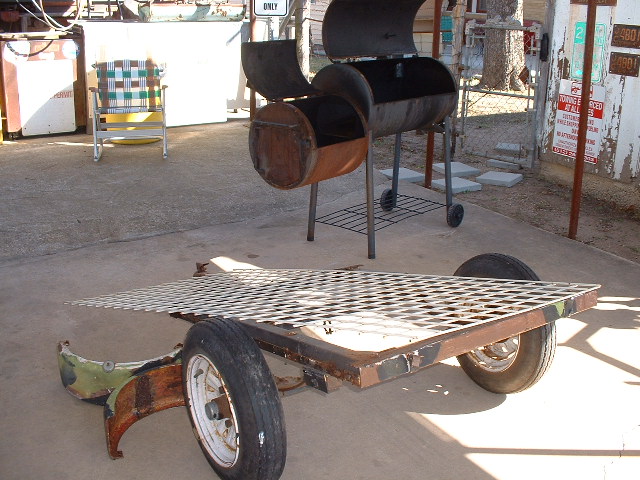
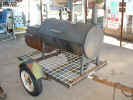
Trailer and pit |
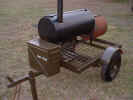
Trailer/pit
mockup |
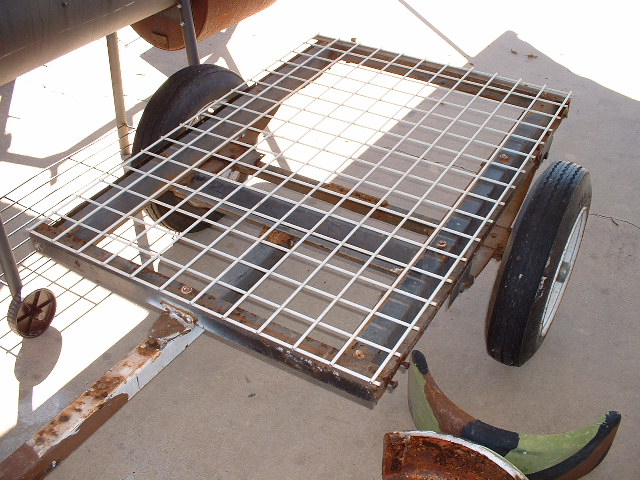
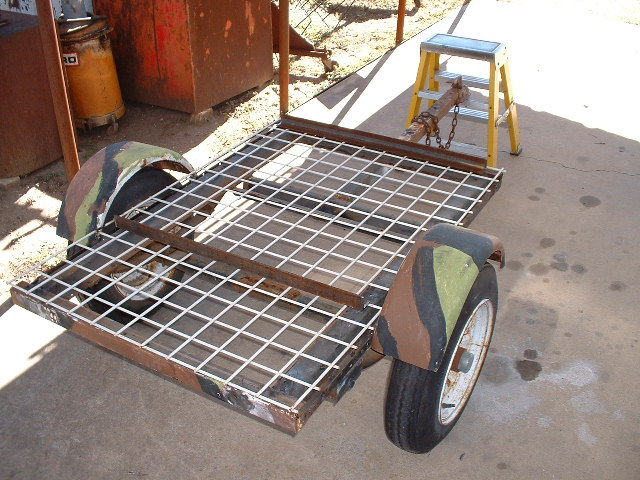
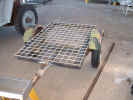
The base rack
cut to fit |
 |
 |
 |
 |
 |
| Fenders mocked
up |
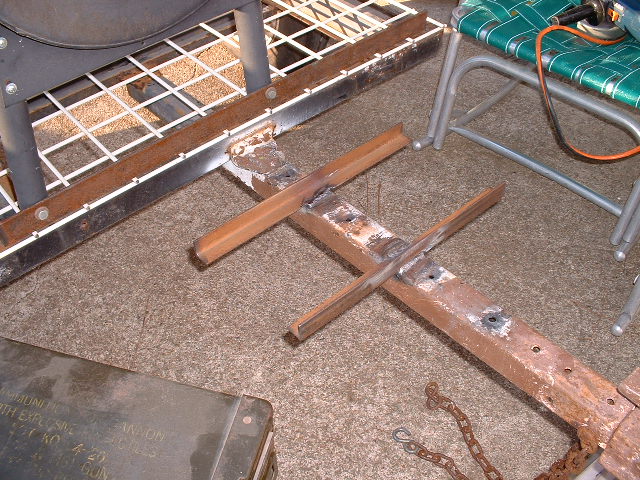
Angle for leg
attachment cut and mocked up |
|
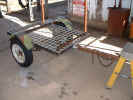
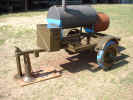
Pit legs cut to
keep the same handle hgt. |
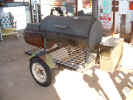
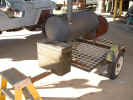
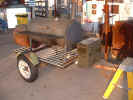
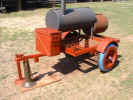
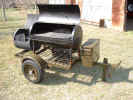
Pit mocked up
on the trailer |
 |
 |
 |
 |
 |
| Center align |
Left align |
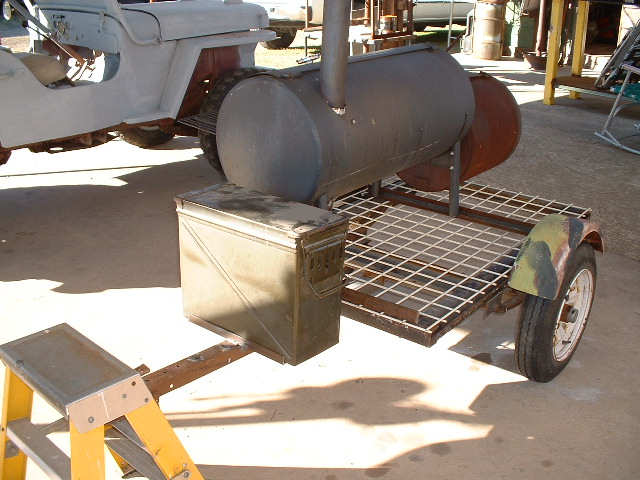
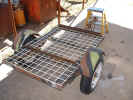
Went with the
left align |
Allows for a
cooler and wood |
|
 |
 |
|
 |
 |
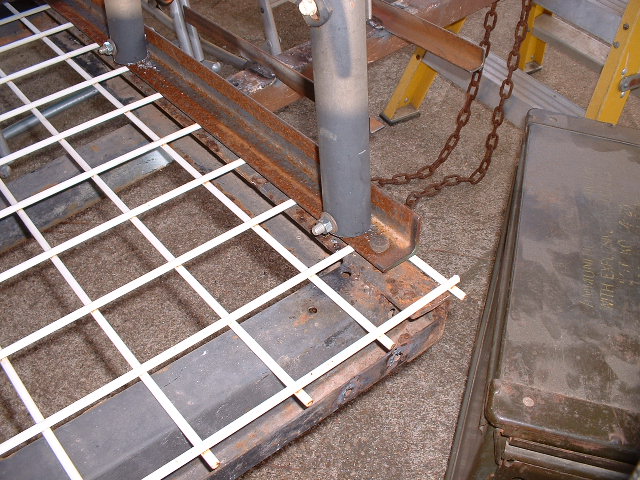
| Angle in place
with leg bolts |
Fabricated the
20mm box supports |
|
A good day's
work |
Still need to
fab the landing leg |
02/11/2006 (Saturday - 1.00hr/6.00hrs total)
Today's goal was to fabricate the landing leg support. Scrounging around I
found a 4" pc of 2"ID tube as well as a good stock of 2"OD tube
that would work as the insert or leg. I had a few trailer hitch pins in
the truck toolbox that worked as the pins to hold the leg in place during cooks
and/or transport. I've got a whopping 6.00 hours in the project now.
|
 |
|
 |
|
|
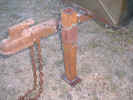
Fabricated the
landing leg |
|
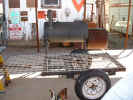
Ready for
sand/prime and paint! |
|
03/02/2006 (Thursday - 3.00hrs/9.00hrs total)
Today's goal was to get the new project sanded, primed and painted. That
said, I did a quick sandblast to knock off the big stuff, and hit some spots
that could easily be seen in addition to where there was a lot of rusty
spots. I taped off the tires and shot it with a two-part epoxy red-oxide
primer (PPG's DP-74LF) that I just love 'cause it's durable as hell and you can
paint on it within an hour and no sanding is necessary. I had some left
over from the last project and used it all up. After about an hour, I shot
it with what's referred to as OD#24087 or the late Korean war/early Vietnam war
paint code from a gallon I had in the garage waiting for yet another project.
This is a semi-gloss paint that gets cut with 4oz zylene to 28oz paint and it
all goes in the Imperial Tool Palace (Harbor Freight) 'quart pot' spray rig
running about 20psi. It sat in the sun about an hour and I shot it a second
time. I'll let this dry under a barn for several days (supposed to rain anyway
this weekend) before applying any markings for grins.
|
 |
 |
 |
|
|
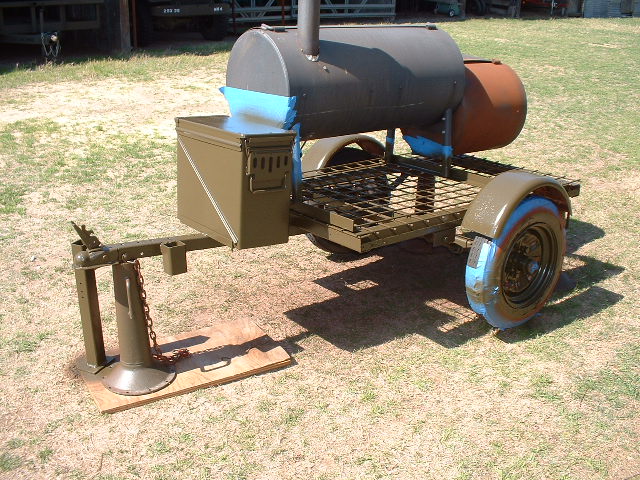
2-Part Epoxy
Primer |
Taped and
painted #24087 |
Ready for
graphics and then attack the pit clean-up & paint |
|
|
|
|
|
|
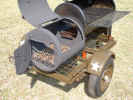
03/04/2006 (Saturday - 2.00hrs/11.00hrs total)
After finishing the Texas Independence Day parade, I headed over to Kaiserville
to do some more work on the pit.
 |
 |
 |
 |
 |
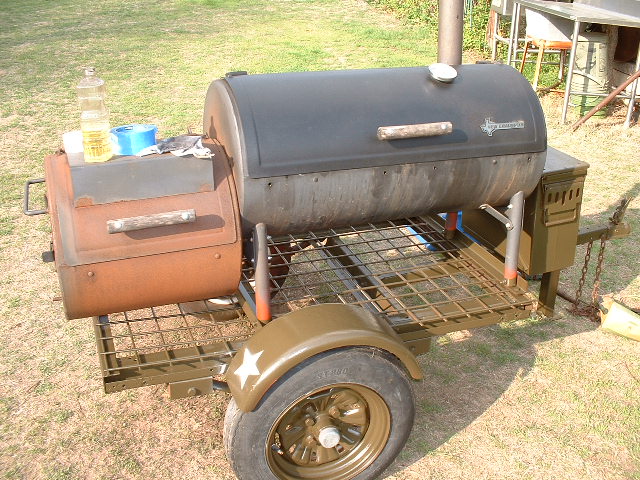
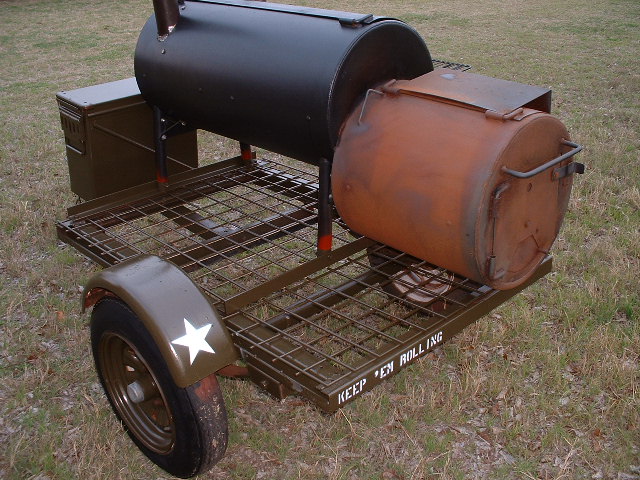
| Stencils on,
door oiled |
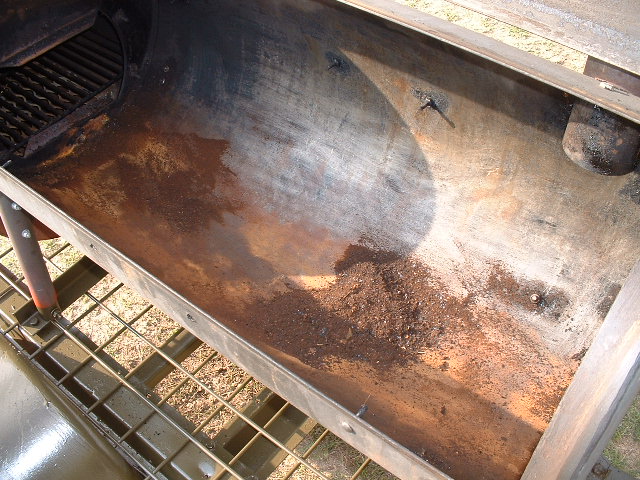
Yuck!
Cleaning the inside |
Horizontal
cleaned and oiled |
|
All that
remains is paint the firebox |
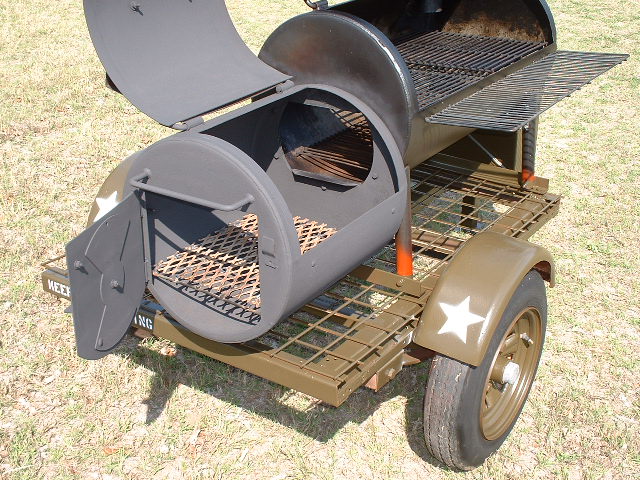
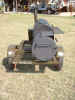
03/06/2006 (Monday - 1.00hrs/12.00hrs total)
Yet another bright, sunny day with little wind! So, I took my high-temp
bbq spray paint and went after the firebox. After first blowing it with
high-pressure compressed air, I shot two coats inside and outside. The can
showed more of a black gloss, but what came out was more of a light gray
flat. Oh well. I'm not going to change it other than to oil the
firebox down in a few days. That should darken it up some. And the
overspray primer? I'm leaving it.
 |
 |
 |
 |
 |
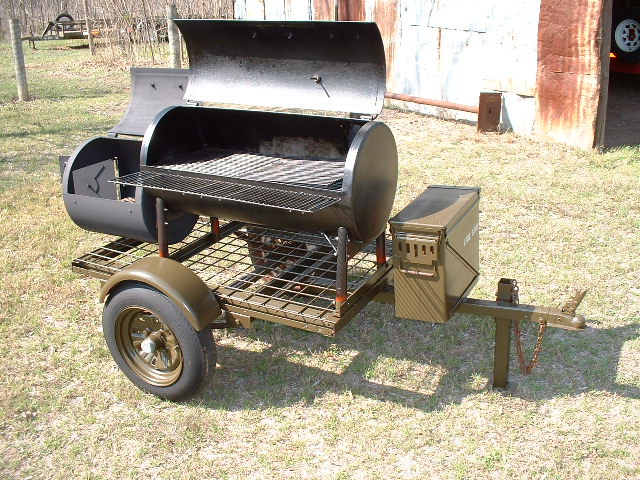
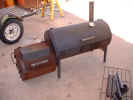
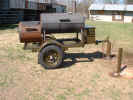
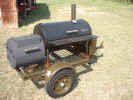
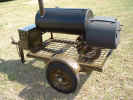
| It's done! |
All opened
up. The pit came with all the racks! |
Cook's side |
Storage side |
Firebox side |
Costs to Date: (including tax)
| 09/13/2005 |
Small trailer (donated by a good
friend) |
0.00 |
| 02/06/2006 |
Used New Braunfels "Black
Diamond" off-set smoker |
50.00 |
| 03/04/2006 |
Two cans 1200*F black bbq paint
for firebox |
8.98 |
|
|
|
|
Project expenses to date: |
$58.98 |
|